
loading...
When I started the Clearly Delicious Food Blog in 2008, I could not have anticipated the role photography would (then) play in my life.
The dedication to quality, useful images and expensive equipment would be a year or two down the road. In fact, it wouldn’t be until late 2009 (or was it early 2010?) that I began to take capturing pictures seriously.
Amateur Gourmet Adam Roberts explained the “Beautiful Recipe Post” in his “10 Posts that Will Get You Traffic” talk at this year’s Food Blog South 2013. It was smart and clever, with plenty of notes about how 99% of bloggers are regularly publishing beautiful pictures without the express worry of producing “quality” content.
Basically, if you can afford a DSLR camera (Nikon or Canon), you’re good to go. Just learn to point and shoot before uploading those images.
[Case in point here: “Healthy Nutella Rice Krispy Treats.” Terrible Writing + Beautiful Images = “Pinnable” Content; But, I digress….]
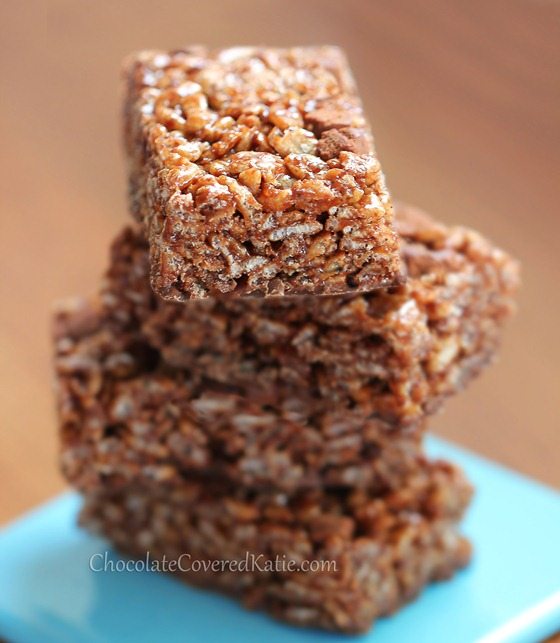
Pictured: “Healthy Nutella Rice Krispy Bars” by Chocolate-Covered Kate: The Healthy Dessert Blog: a great example of beautiful, “pinnable” content without the writing chops. But, I have to admit the DSLR skills are pretty great here.
For several weeks now, I’ve been telling the Writing and Editorial Interns I would show them exactly how a dish goes from photo to blog. It’s a process of plating, conceptualization, and a ton of other techy skills. My logic was this: it may be hard to understand even 10% of food photography based on one photoshoot. But, simply witnessing the labor-intensive process behind a magazine or food blog might do them some good (especially if they go into publishing as Meredith Quinn has been want to do).
Last Friday, we bundled up on the patio to shoot a gluten-free Fallen Chocolate Cake from Bon Appétit:

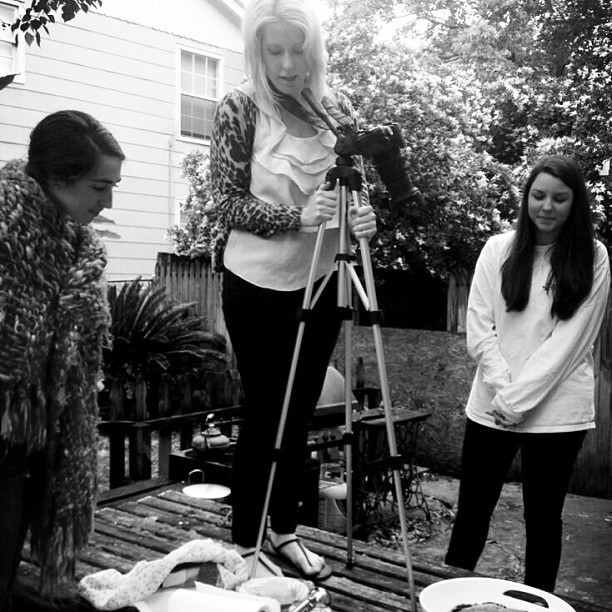
Pictured: me standing on the patio table explaining to interns Erica deVeer and Meredith Quinn how the right angle and lighting mean everything. Photo by Food and Writing Intern Tara Hebert.
Although we spent only 20-minutes styling and shooting this dessert (really, pennies compared to the hour-long shoots you’ll witness at major magazines and print pubs), I showed a few of the crazy antics that happened “before” a dish could be shot. Whether we were tweaking a dish’s arrangement by half an inch or balling up a piece of paper to substitute for a fresh scoop of ice cream (that is, to test our settings before a real scoop of ice cream would could begin to melt), it was all quick and informative, emphasizing the labor that goes behind the cover images of those glossy food publications.
But, what I didn’t have time to get to was “post.”
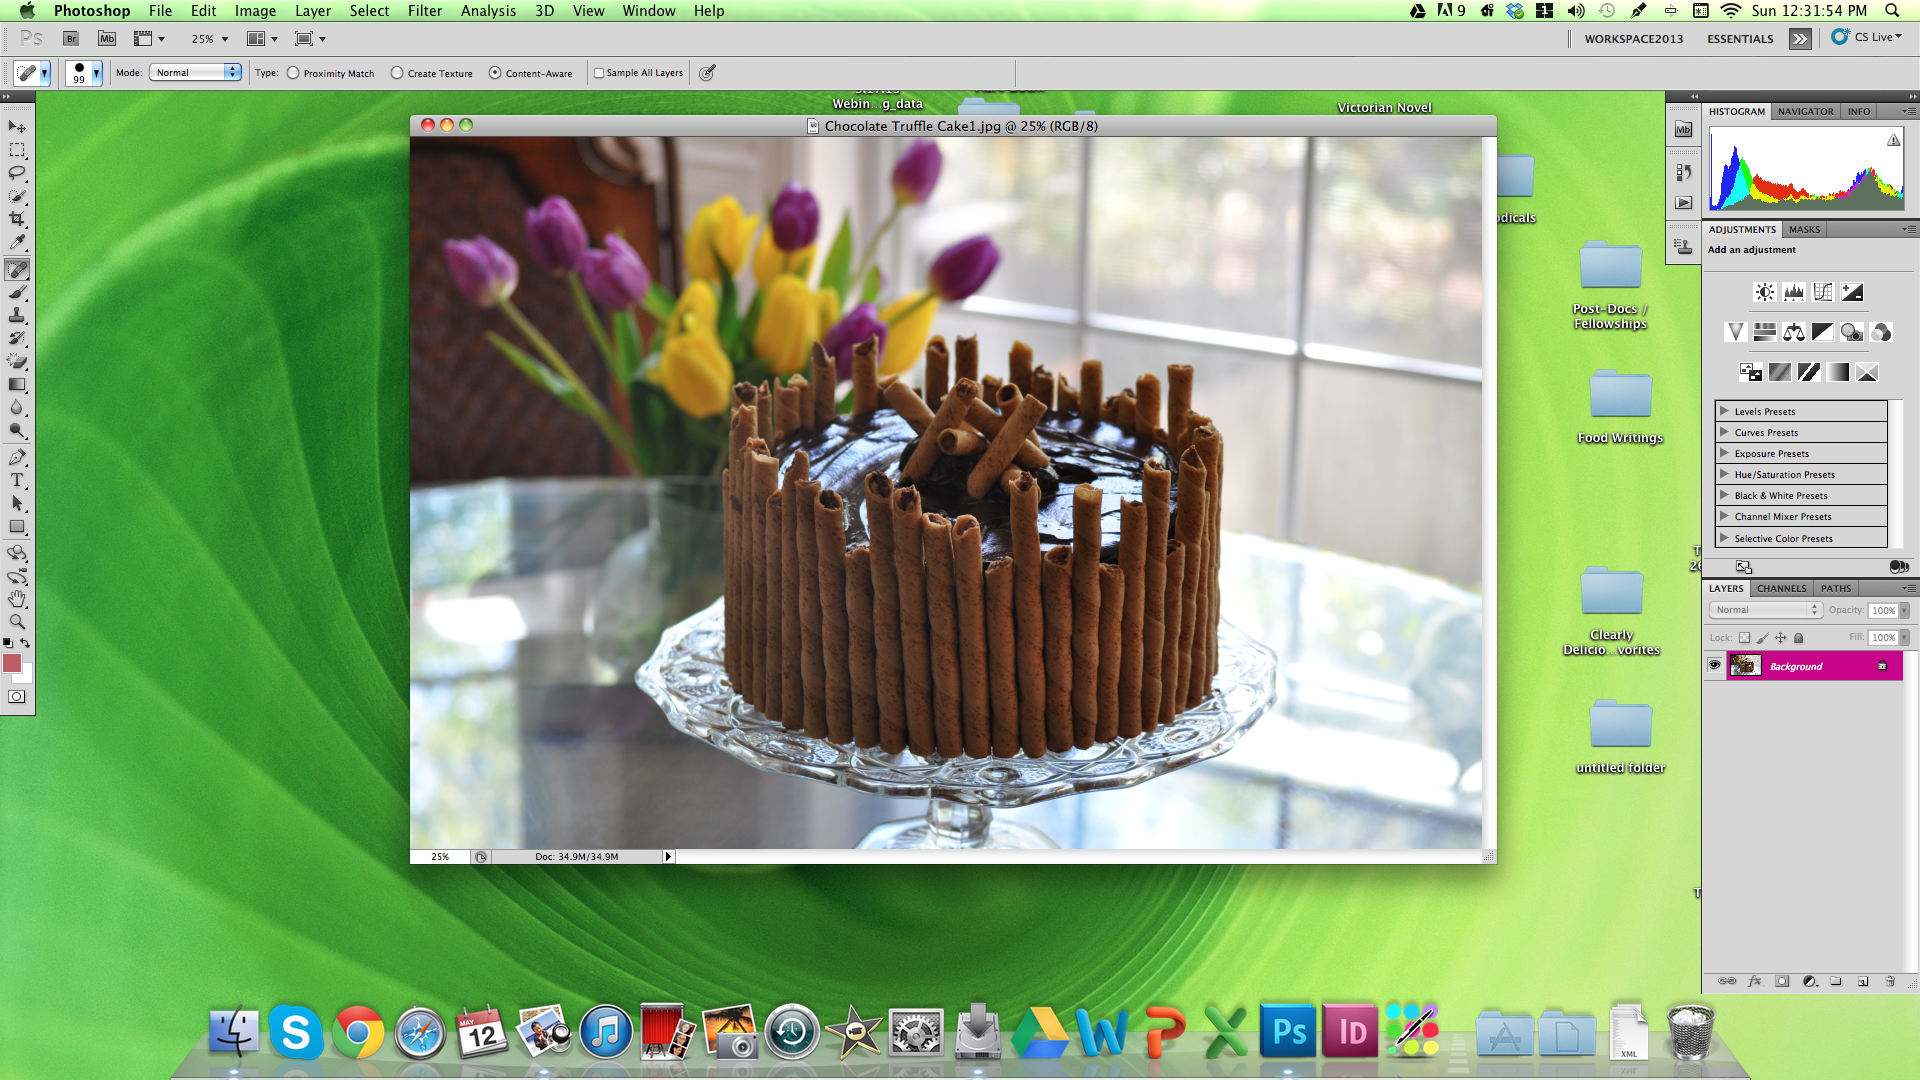
“Post” is an industry term that refers to what you do with an image once it’s shot. Since most professional food bloggers shoot in .raw format, it’s easy to manipulate an image with expensive photo-editing software like Photoshop or LightRoom. Honestly, just learning one platform can be a bit of a chore (I still don’t know how to do half the things I’d like to do in Photoshop), but it’s a worth-while extra-curricular if you want your images to come alive.
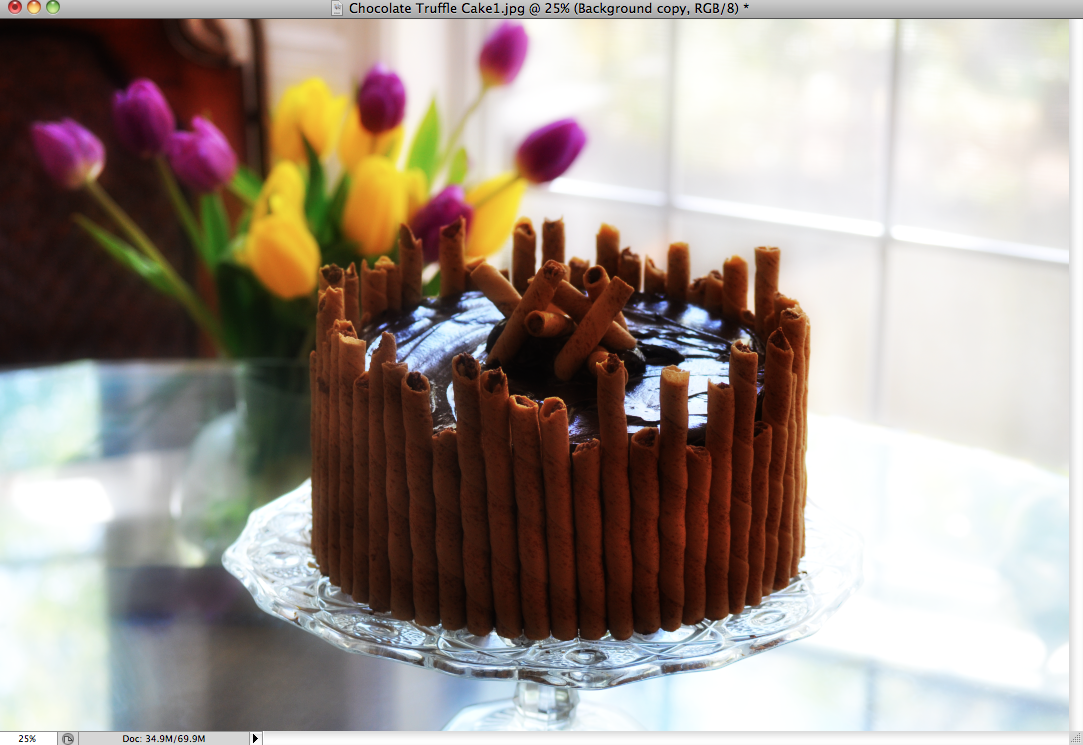
Example: Erica deVeer’s Easter Sunday recipe for Chocolate Truffle Cake:
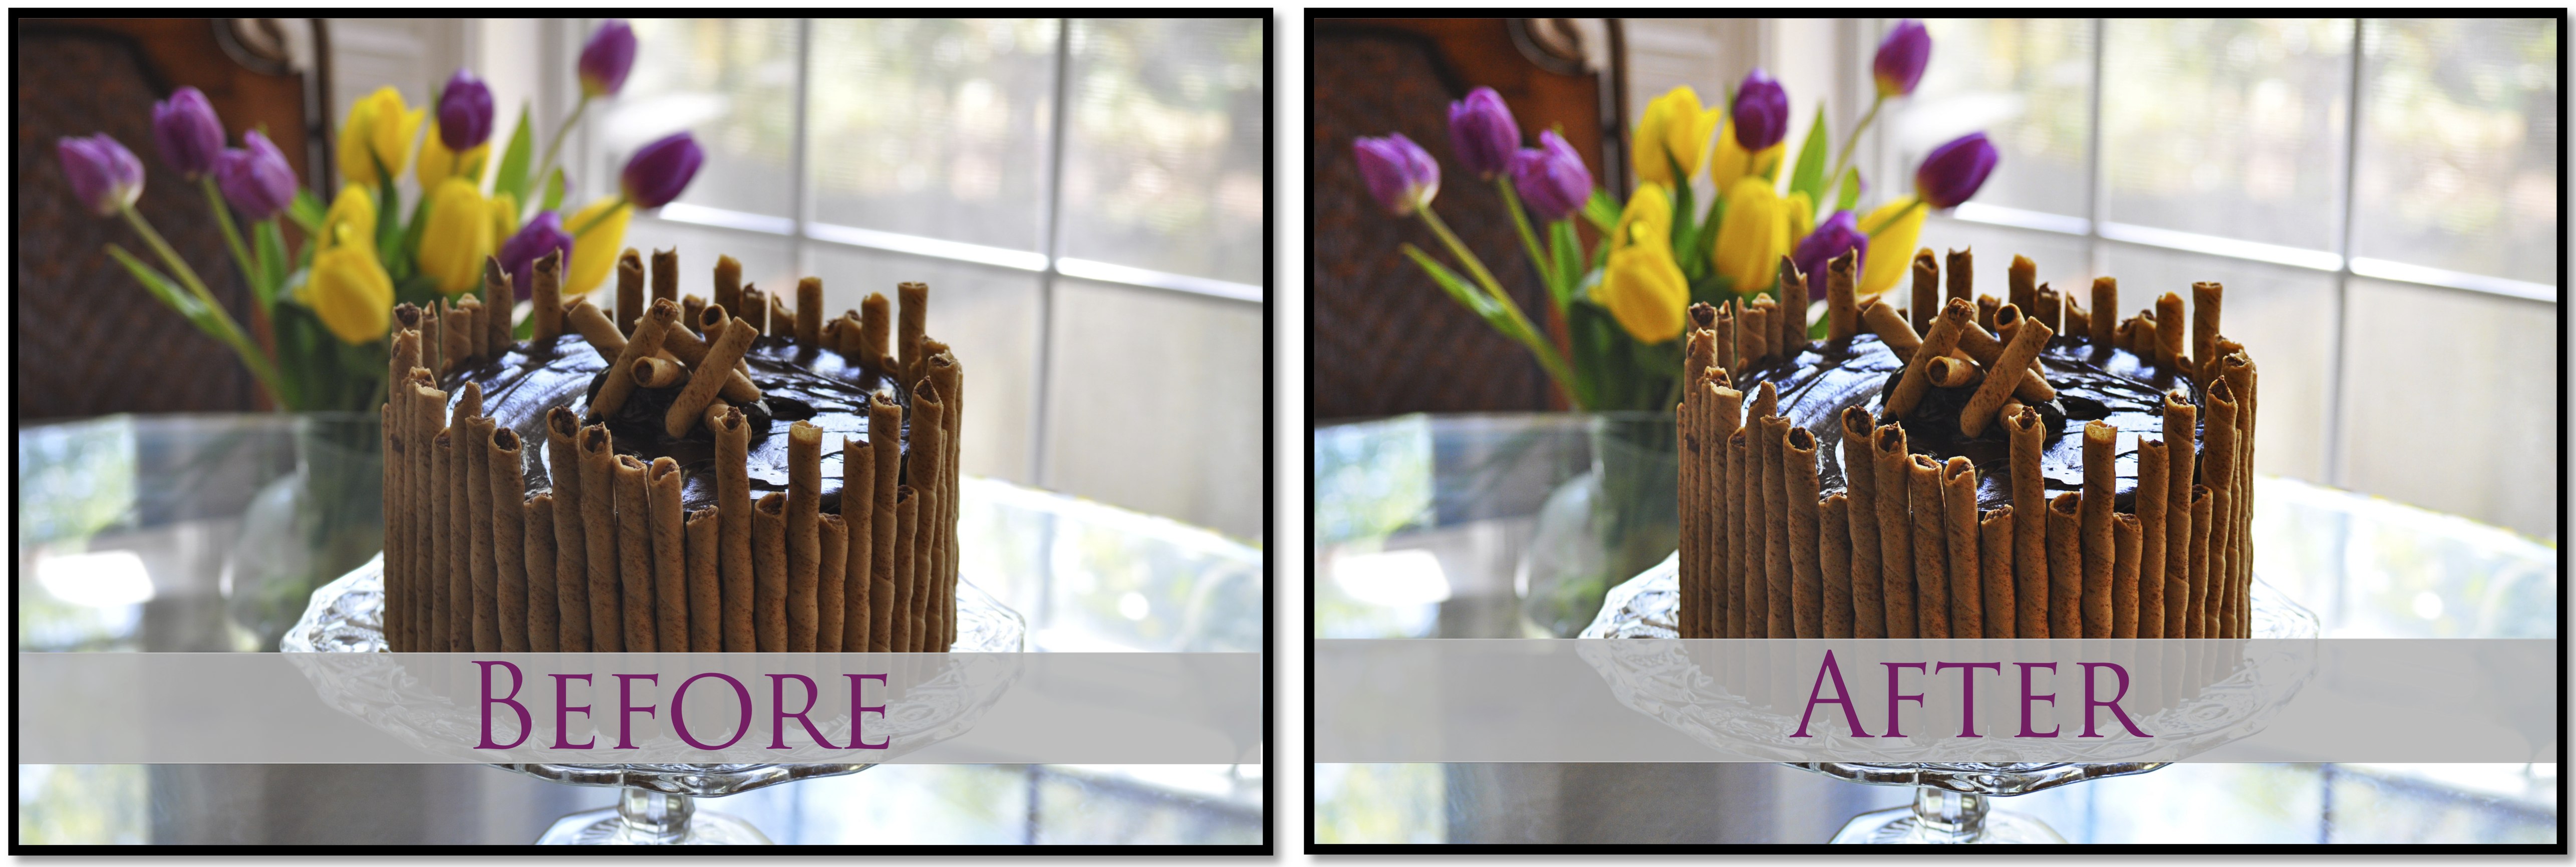
Pictured: “Before” and “After” shots of a Chocolate Truffle Cake . Notice the enhanced saturation, sharpness, and clarity on the right? Although these changes may be subtle, they’re what transforms a “good” image into something that’s “great” and can be published in a variety of platforms.
Below, I’ve itemized 5 essential tips I cannot live without when editing an image in post, especially when using Photoshop. Since including each tip in full creates a really long blog post, I’ve given you the tip, feature, and overview below with a link to the longer tutorial on a separate page here at the website.
For more tips, tricks, and photo inspiration, please follow me on Pinterest and my “Food Photography Ideas” board.
Tip #1: Exposure
(full tutorial here)
Exposure is one of the most important tips I can give anyone when they start working with a photo in post. I won’t detail the more high-tech skills you’ll need to know when working with apertures / f-stops and how the numbers really don’t make any sense (the lower the f-stop the higher your aperture? Or in the words of Hélène Dujardin, “It’s just crazy!”)
But here’s what I can tell you when working in “post”:
Exposure Levels.
Follow the link here for the full 5-step tutorial where I explain how the “Levels Feature” on the Adjustments Panel makes all the difference in Photoshop.
For this tutorial, I’m using images in .raw format and Photoshop CS12.1 x64, iMac on OSX 10.6.8):
So, why does exposure matter? Well, here’s a (somewhat frustrating) food blogger tip: the number one reason my images have been rejected from FoodGawker in the past is “low lighting” or “under-exposed.”
Tip #2: Blow Outs
Fixing exposure is important, but it also creates (or encourages) some lighting problems—blow outs.
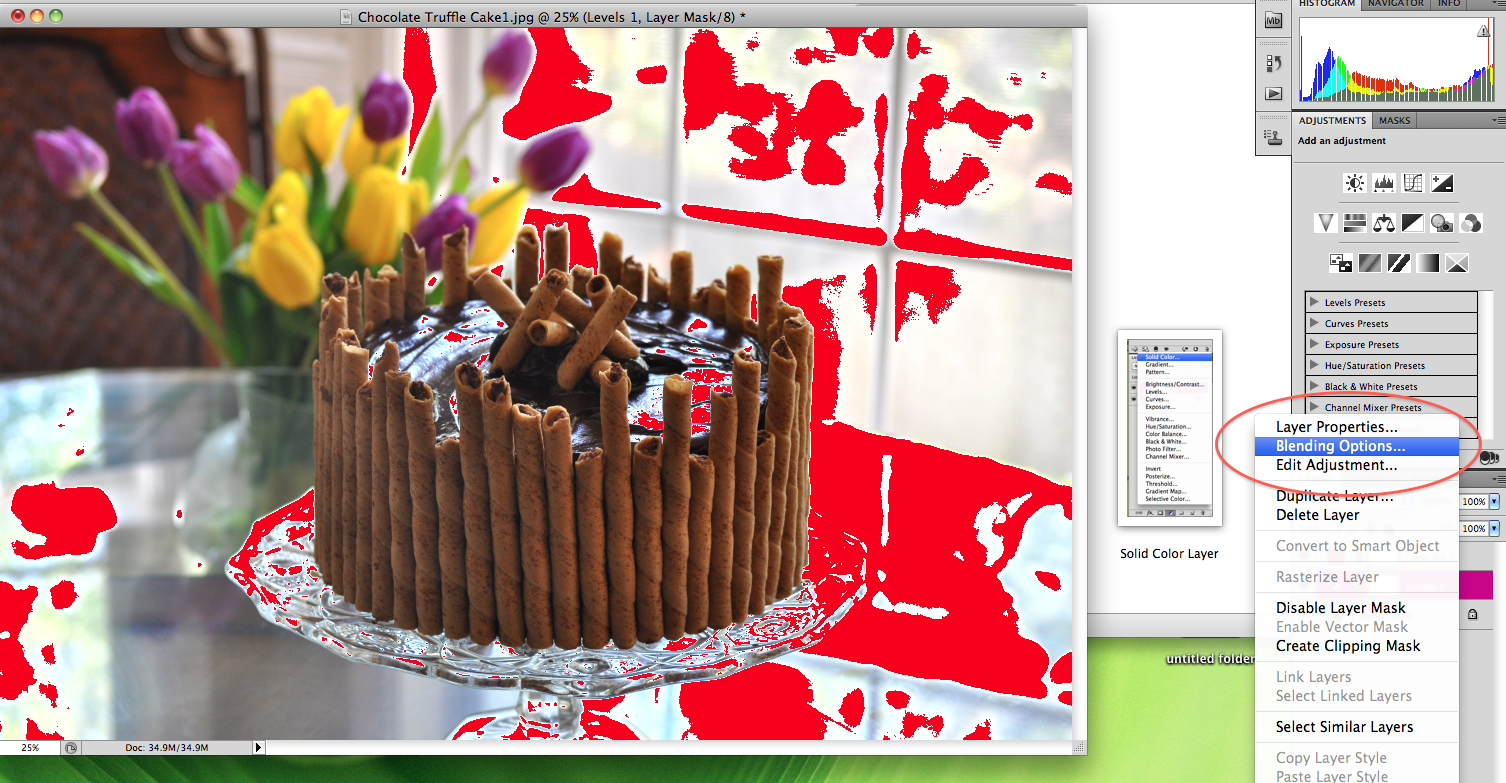
“Blow outs” is a slang term that refers to an area where whites and exposure are so bright, they’ve literally been “blown out” and no data is shown (just white, bright light). Sometimes this looks pretty cool and you might be aiming for an over-exposed effect, but most of the time (as with visible, useful food photography), it poses a problem. Why?
Well, blow outs are particularly troublesome if you were to go to print. Not only would there be no digital information to be printed in this part of the image, but it also messes with white balance and photo composition.
Here’s an easy fix in Photoshop: correcting blow outs using the “Layers” Feature.
Again, to see how to use Photoshop’s “Layers” Feature, read up on the process here in a separate post.
Tip #3: Filter -> Gaussian Blur
Two filters I always use when editing a food photo in post are 1 – “Gaussian Blur” and 2 – “High Pass.”
In Tip #3, I discuss Gaussian Blur.
Photoshop’s filters serve a wide ray of functions and have infinite variables you can play with and fix. For now, we’re just enhancing color and sharpening the image. With Gaussian Blur, you can add a layer of sophisticated saturation that truly brings your image to life. To read how to add, overlay, and adjust this filter, read the full article here.
Tip #4: Filter -> High Pass
The second of two filters I always use when editing photos in post is High Pass. In LightRoom, this filter functions more under “clarity” and “sharpening,” but here, it’s all one function.
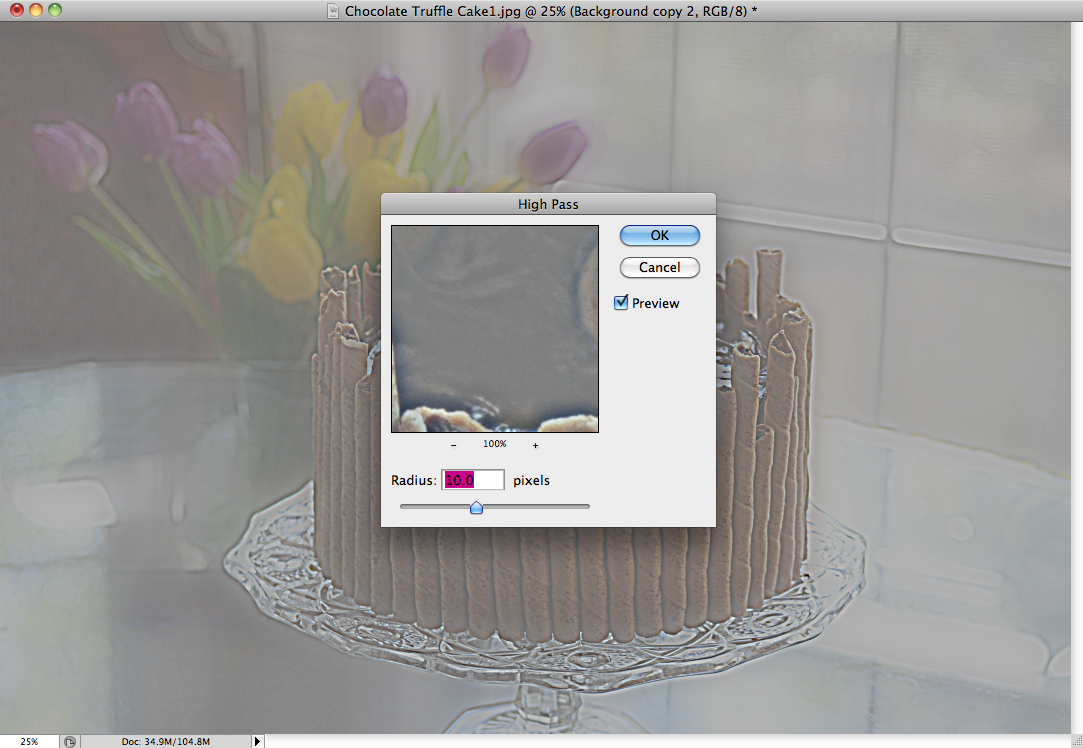
High Pass is fairly intuitive after you’ve gotten the hang of Gaussian blur. Follow the steps for tip 3 and read the full tutorial for how to sharpen even the smallest details here.
Tip #5: Internet-Ready
Although this tip comes last, I think it’s one of the most important: saving files so they’re Internet and Print ready. Honestly, discovering this feature took a lot of trial and error after slaving away on my images and just hitting “save as.” In the generation that grew up using Microsoft Word, we all know that “Save As” updates a file with all of the new changes and features, right? Well, not in Photoshop. In Photoshop, in order to (truly) save all of your adjustments, layers, tweaks, and filters, you’ll need to use the feature, “Save for Web and Devices.”
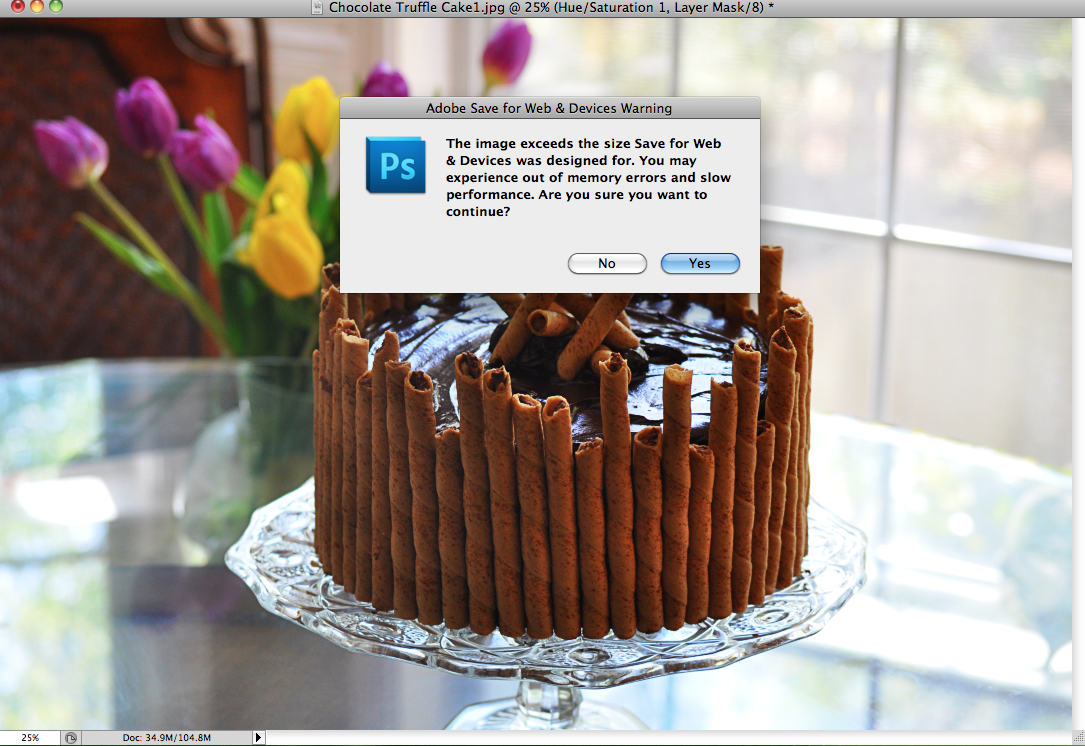
In this tutorial (full version here), I discuss preserving all of your data, but without saving the image as a Photoshop file.
—
As always, you can “hit the books” as they say to learn more about these five tips and tricks. Here are three of the food photography books I cannot live without:
1 – Hélène Dujardin’s Plate to Pixel (and here blog: Tartlette)
![]()
*great for learning about nuanced lighting, natural lighting, and plating. Dujardin has a great section on f-stops/aperture, ISO, and how to get creative in a traditionally mechanized field.
2 – Denise Vivaldo’s Food Stylist’s Handbook

*great for learning about industry tips and tricks, how to handle a professional photo-shoot, and what to have on hand.
3 – Nicole S. Young’s Food Photography: From Snapshots to Great Shots
*worth the less than $14 purchase if only for her discussion of Photosshop. Young is a certified Photoshop specialist, and it shows with her screen shots and tips and tricks.
Or, checkout these Useful Blogger Articles:
1 – “Tasty Food Photography” by Pinch of Yum
2 – “Photography on Simply Recipes” by Elise Bauer
3 – Lynda.com by Lynda Weinman
—
Directory:
Or, See: Tip #1: “Fixing Exposure”
Tip #2: “Fixing Blow Outs in Photoshop”
Tip #3: “Filter -> Gaussian Blur”
Tip #5: “Saving Images for the Internet”
—
Follow me on Pinterest: http://pinterest.com/helana/
Twitter: https://twitter.com/DancesWLobsters
Facebook: https://www.facebook.com/pages/Clearly-Delicious/103136413059101
Tumblr: http://clearlydelicious.tumblr.com/
Instagram: http://instagram.com/helanabrigman
Food Photography Tips for Bloggers,
No Comments